How to Detect Hidden Water Leaks

Have you ever wondered why detecting hidden water leaks is so crucial?
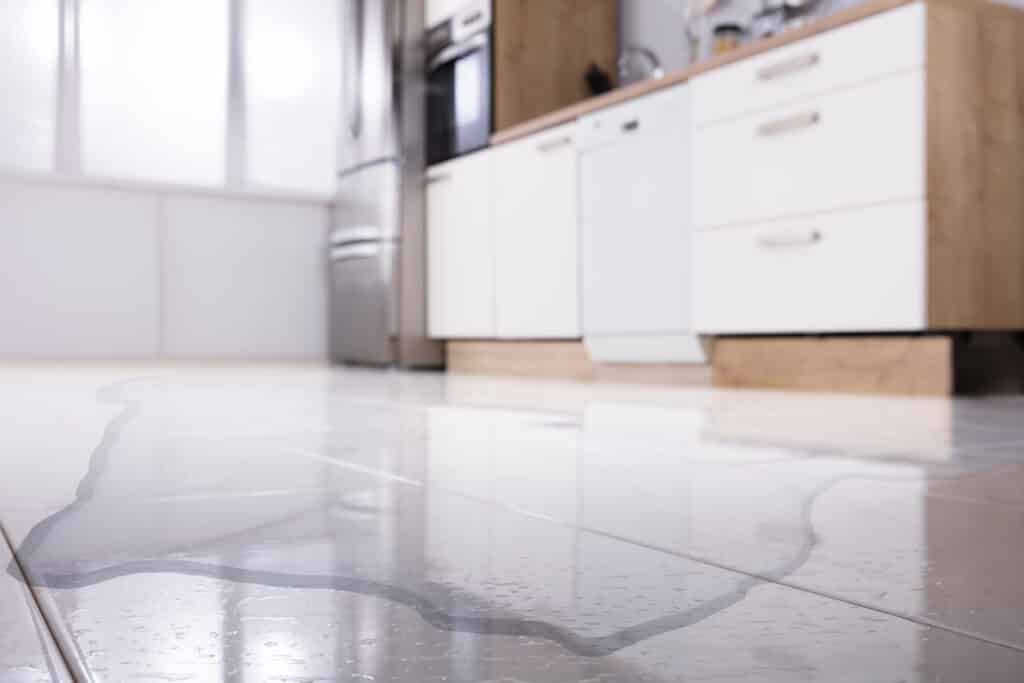
Hidden water leaks can cause significant problems for homeowners if left unchecked. The unseen damage can lead to costly repairs and extensive property damage, impacting both the structure and value of your home.
Hidden leaks often go unnoticed until they cause severe damage. These leaks can occur in walls, under floors, or in other hard-to-reach places, making them difficult to detect without proper tools and knowledge.
Over time, the continuous flow of water can weaken structural elements, promote mold growth, and even lead to electrical hazards. Therefore, identifying these leaks early is essential to maintaining the integrity and safety of your home.
Understanding the importance of detecting hidden water leaks can save you from these potential disasters. By being proactive, you can protect your home, health, and wallet from the detrimental effects of undetected leaks.

Photo from iStock – Credit: AndreyPopov
Common Signs of Hidden Water Leaks
Are your water bills mysteriously high or do you notice unusual damp spots at home? Identifying hidden water leaks early can save you from significant damage and costly repairs. Here are some common signs to watch out for:
Unexplained High Water Bills
One of the first indicators of hidden water leaks is an unexplained increase in your water bill. If your usage habits haven’t changed but your bill has spiked, there could be a leak somewhere in your plumbing system. Regularly monitoring your water bill can help you spot potential problems early.
Damp Spots on Walls or Floors
Damp or discolored spots on your walls, ceilings, or floors can signal a hidden leak. These spots often appear as dark patches or bubbling paint and can indicate water damage behind the surface. Addressing these signs promptly can prevent further structural damage.
Musty Odors
Musty odors in your home can be a telltale sign of hidden water leaks. These odors are typically caused by mold and mildew growing in damp, enclosed spaces. If you notice persistent musty smells, it’s crucial to investigate further, as prolonged exposure to mold can pose health risks.
Reduced Water Pressure
If you experience a sudden drop in water pressure, it could be due to a leak in your plumbing system. Reduced water pressure can result from water escaping through leaks instead of flowing to your faucets and fixtures. Checking for leaks when you notice decreased water pressure can help prevent further issues.
Recognizing these common signs of hidden water leaks can help you take prompt action, preventing further damage and costly repairs.
Inspecting Water Meter for Leaks
Ever wondered how your water meter can help you detect leaks? Your water meter is a powerful tool for identifying hidden water leaks. By following a few simple steps, you can use your water meter to spot leaks and save on water bills.
Step-by-Step Guide to Using Your Water Meter
- Locate Your Water Meter: Typically, water meters are found near the curb in front of your home or a basement.
- Turn Off All Water Sources: Ensure that all faucets, appliances, and irrigation systems are off. This will help you get an accurate reading from the meter.
- Record the Meter Reading: Write down the current reading on your water meter. Include all the numbers, especially the smaller ones that measure smaller volumes of water.
- Wait and Monitor: Leave all water sources off for at least an hour. During this time, avoid using any water in your home.
- Check the Meter Again: After waiting, take another reading of your water meter. If the numbers have changed, it indicates that water is flowing through your system despite all sources being off, suggesting a leak.
What the Results Mean
- No Change: If the water meter reading hasn’t changed, congratulations! Your plumbing system is likely free of leaks.
- Change in Reading: A change in the meter reading indicates a leak somewhere in your system. This could be a small drip or a significant leak, depending on how much the meter has moved.
By regularly inspecting your water meter, you can quickly identify leaks and address them before they cause significant damage. It’s a simple yet effective method to ensure your home’s plumbing is in good condition.
Checking Your Water Supply Lines
Wondering how to spot potential leaks in your water supply lines? Inspecting your visible pipes regularly can help catch leaks early, saving you from costly repairs and water damage. Here’s how you can inspect your water supply lines effectively.
Inspecting Visible Pipes
- Locate All Accessible Pipes: Identify and locate all accessible pipes in your home. These are usually found in basements, under sinks, and behind appliances.
- Check for Moisture: Run your hands along the pipes to feel for moisture. Even a small amount of dampness can indicate a leak.
- Look for Discoloration: Examine the pipes for any discoloration, such as green or white stains. This can be a sign of corrosion or mineral deposits, indicating a potential leak.
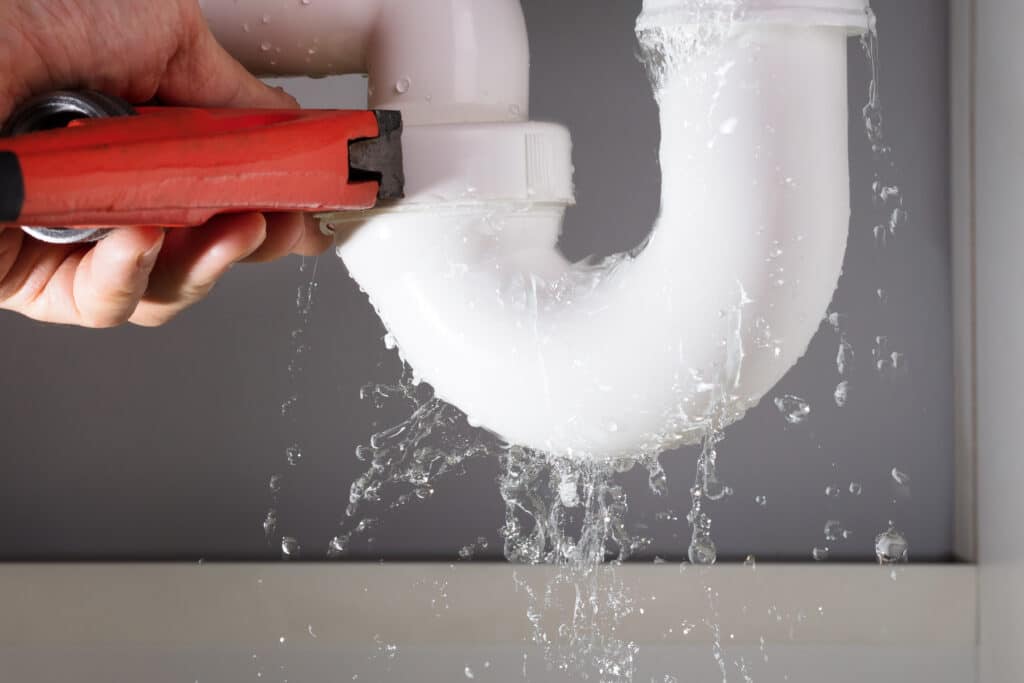
- Inspect for Damage: Look for visible damage such as cracks, dents, or pinholes. Damaged pipes are prone to leaks and should be repaired or replaced immediately.
Identifying Corrosion and Other Signs
- Rust and Corrosion: Pipes showing rust or corrosion are at risk of leaking. Corrosion weakens the pipes and can lead to significant leaks over time.
- Water Stains: Check the areas around your pipes for water stains on walls, floors, or ceilings. These stains often signal that water is escaping from the pipes.
- Mold and Mildew: The presence of mold or mildew around pipes can indicate a long-term leak. Mold thrives in damp environments, so its presence is a strong indicator of a hidden leak.
- Odd Noises: Listen for any unusual sounds such as hissing or dripping. These noises can point to water escaping from the pipes.
Regularly inspecting your water supply lines for these signs can help you catch leaks early, preventing more significant problems down the line. Keeping your plumbing in good condition ensures a safe and efficient water supply for your home.
Examining Appliances and Fixtures
Do you suspect a hidden leak around your appliances and fixtures? Leaks often originate from common household appliances and fixtures. Regularly checking these areas can help you detect and fix leaks early.
Common Leak-Prone Areas
- Dishwashers: Examine the area around and under your dishwasher. Check for pooling water, rust, or water stains. Inspect the hoses and connections for signs of wear and tear.
- Washing Machines: Inspect the hoses leading to your washing machine for cracks or leaks. Look for dampness around the machine, especially after use.
- Refrigerators with Water Dispensers/Ice Makers: Check the water line connections for leaks. Look for any signs of water accumulation or mold around the fridge.
- Water Heaters: Inspect around the base for puddles or rust. A leaking water heater can cause significant damage if not addressed promptly.
- Sinks and Faucets: Check under sinks for dampness, rust, or mold. Ensure that faucets are not dripping or leaking around the base.
How to Check for Leaks
- Visual Inspection: Start by visually inspecting the area around your appliances and fixtures. Look for any visible signs of water damage, such as stains, rust, or mold.
- Touch and Feel: Run your hands along hoses and connections to feel for moisture. Even a small amount of dampness can indicate a leak.
- Paper Towel Test: Place a dry paper towel around connections and hoses. If it becomes wet, you’ve found a leak.
- Check Water Supply Lines: Ensure that all water supply lines are tightly connected. Loose connections can easily lead to leaks.
- Listen for Drips: In a quiet room, listen closely to the sound of dripping water. This can help pinpoint the location of a leak.
Regularly examining your appliances and fixtures for leaks is a crucial part of home maintenance. By staying vigilant, you can catch leaks early, preventing extensive damage and saving money on repairs.
Testing for Toilet Leaks
Ever wondered how much water a leaky toilet can waste? A leaking toilet can waste up to 200 gallons of water a day. Detecting and fixing toilet leaks can save you money and conserve water. Here’s how you can test for and fix common toilet leaks.
Simple Methods to Detect Toilet Leaks
- The Dye Test:
- Step 1: Remove the tank lid.
- Step 2: Add a few drops of food coloring or a dye tablet into the tank.
- Step 3: Wait 10-15 minutes without flushing.
- Step 4: Check the bowl for colored water. If you see color, you have a leak.
- Listen for Dripping: In a quiet house, listen closely around your toilet. The sound of running water or dripping can indicate a leak.
- Check the Water Level:
- Step 1: Open the tank and observe the water level.
- Step 2: Ensure the water level is about one inch below the overflow tube. If it’s at or above the overflow tube, adjust the float.
- Feel Around the Base: Feel the floor around the base of the toilet for moisture. Dampness or water can indicate a leak at the base.
Fixing Common Toilet Leaks
- Replace the Flapper:
- Step 1: Turn off the water supply to the toilet.
- Step 2: Flush the toilet to empty the tank.
- Step 3: Remove the old flapper and install a new one. Ensure it fits snugly.
- Adjust or Replace the Fill Valve:
- Step 1: Turn off the water supply and flush the toilet.
- Step 2: Adjust the fill valve to stop water from flowing into the overflow tube.
- Step 3: If adjusting doesn’t work, replace the fill valve.
- Tighten or Replace the Seal:
- Step 1: If water is seeping around the base, tighten the bolts securing the toilet to the floor.
- Step 2: If tightening doesn’t stop the leak, replace the wax seal under the toilet.
Regularly testing your toilet for leaks and making necessary repairs can prevent water wastage and avoid costly water bills. It’s a simple but effective way to maintain your home’s plumbing.
Inspecting Exterior Water Sources
Are you aware that exterior water sources can also be prone to leaks? Leaks aren’t confined to the interior of your home. Garden hoses, outdoor faucets, and sprinkler systems are also common sources of water waste. Regular inspection of these exterior elements can help maintain your water efficiency and prevent costly damage.
Checking Garden Hoses and Outdoor Faucets
- Inspect the Hose Connection:
- Step 1: Check where the hose connects to the faucet. Ensure it’s tightly secured.
- Step 2: Look for drips or wetness around the connection. If there’s a leak, try tightening the connection or replacing the rubber washer inside the hose fitting.
- Examine the Hose for Cracks:
- Step 1: Run your hands along the length of the hose to feel for any cracks or splits.
- Step 2: Look for any visible signs of wear, such as bulges or kinks.
- Step 3: Replace any damaged sections or the entire hose if necessary.
- Check the Faucet for Leaks:
- Step 1: Turn on the faucet and observe for any leaks from the spout or handle.
- Step 2: If you notice a leak, replace the washer or O-ring inside the faucet.
Sprinkler Systems
- Inspect Sprinkler Heads:
- Step 1: Turn on your sprinkler system and walk around your yard.
- Step 2: Look for broken or clogged sprinkler heads. Water pooling around the base can indicate water leaks.
- Check for Wet Spots:
- Step 1: Walk around your yard and look for unusually wet or soggy areas. These can indicate underground water leaks.
- Step 2: If you find a wet spot, mark the area and have it inspected by a professional if necessary.
- Monitor the Water Usage:
- Step 1: Keep an eye on your water bill. A sudden increase could indicate a leak in your sprinkler system.
- Step 2: Regularly test your sprinkler system and adjust any heads that are spraying water inefficiently.
Regularly inspecting your exterior water sources can help you catch water leaks early and maintain an efficient watering system. By keeping an eye on these areas, you can save water, lower your utility bills, and protect your home’s exterior from water damage.
Using Your Ears to Detect Leaks
Did you know that you can use your ears to detect hidden water leaks? Listening to water leaks is a simple yet effective way to find water escaping from your plumbing system. This method can help you identify issues that might not be visible.
How to Listen for Water Leaks
- Turn Off All Water Sources:
- Step 1: Ensure that all faucets, appliances, and irrigation systems are turned off.
- Step 2: This will help you listen for any sounds of running water or drips more clearly.
- Quiet the Environment:
- Step 1: Choose a quiet time, ideally when there is little background noise.
- Step 2: Make sure TVs, radios, and other noisy appliances are off.
- Move from Room to Room:
- Step 1: Walk through your home, stopping at places where plumbing is located, such as kitchens, bathrooms, and basements.
- Step 2: Listen closely for any sounds of running or dripping water. Pay attention to areas near walls and under floors.
- Check Exterior Areas:
- Step 1: Listen to outdoor faucets, garden hoses, and sprinkler systems.
- Step 2: Ensure that these sources are not leaking or dripping.
Tools That Can Help
- Stethoscope for Plumbing:
- Use: A plumber’s stethoscope is designed to amplify sounds within your plumbing system.
- How to Use: Place the stethoscope on pipes and listen for unusual sounds that indicate water leaks.
- Leak Detection Device:
- Use: Electronic leak detection devices can help you find water leaks by amplifying sound.
- How to Use: Move the device along your plumbing system and listen for changes in sound that indicate water flow or dripping.
- Smart Water Leak Detectors:
- Use: These devices can be placed around your home to monitor for water leaks automatically.
- How to Use: Install them near common leak points, such as under sinks and near water heaters. They will alert you to any detected water leaks.
Tips for Effective Listening
- Check During Off-Peak Hours: Listen for water leaks when your home is at its quietest, such as late at night or early in the morning.
- Be Patient: It might take some time to locate the source of the sound. Move slowly and listen carefully.
- Use Multiple Tools: Combining listening techniques with visual inspections can help you pinpoint leaks more accurately.
Using your ears to detect water leaks can be a cost-effective and straightforward method to identify hidden water problems in your home. By staying alert and listening to unusual sounds, you can catch water leaks early and prevent further damage.

Photo from iStock – Credit: AndreyPopov
FAQs about Water Leaks
-
How much can a small leak cost me over time?
A small leak, such as a dripping faucet, can waste over 3,000 gallons of water a year. This can add up to an extra or more annually on your water bill, depending on local rates. Over time, even minor leaks can lead to significant costs, making early detection and repair crucial.
-
Can a leak affect my water quality?
Yes, leaks can affect water quality. Leaks can introduce contaminants from outside the plumbing system into your water supply. This is particularly true for leaks in pipes buried underground or those near sewage lines. Fixing leaks promptly helps maintain clean and safe drinking water.
-
What are the most leak-prone areas in a house?
The most leak-prone areas in a house include:
- Toilets
- Faucets and showerheads
- Water heaters
- Washing machines and dishwashers
- Pipes under sinks
- Outdoor hoses and sprinkler systems
Regularly inspecting these areas can help you catch leaks early.
-
How can I prevent leaks in the future?
Preventing leaks involves regular maintenance and timely repairs. Here are some tips:
- Inspect Plumbing: Regularly check all plumbing fixtures and pipes for signs of wear or damage.
- Replace Old Fixtures: Upgrade old faucets, showerheads, and appliances with newer, more efficient models.
- Insulate Pipes: Insulate pipes to prevent freezing and bursting in winter.
- Regular Maintenance: Schedule annual plumbing inspections with a professional to catch and fix potential problems early.
-
When should I call a professional plumber?
You should call a professional plumber when:
- You can’t locate the source of a leak.
- The leak is causing significant water damage.
- You find multiple leaks in your home.
- The repairs are beyond your DIY skills.
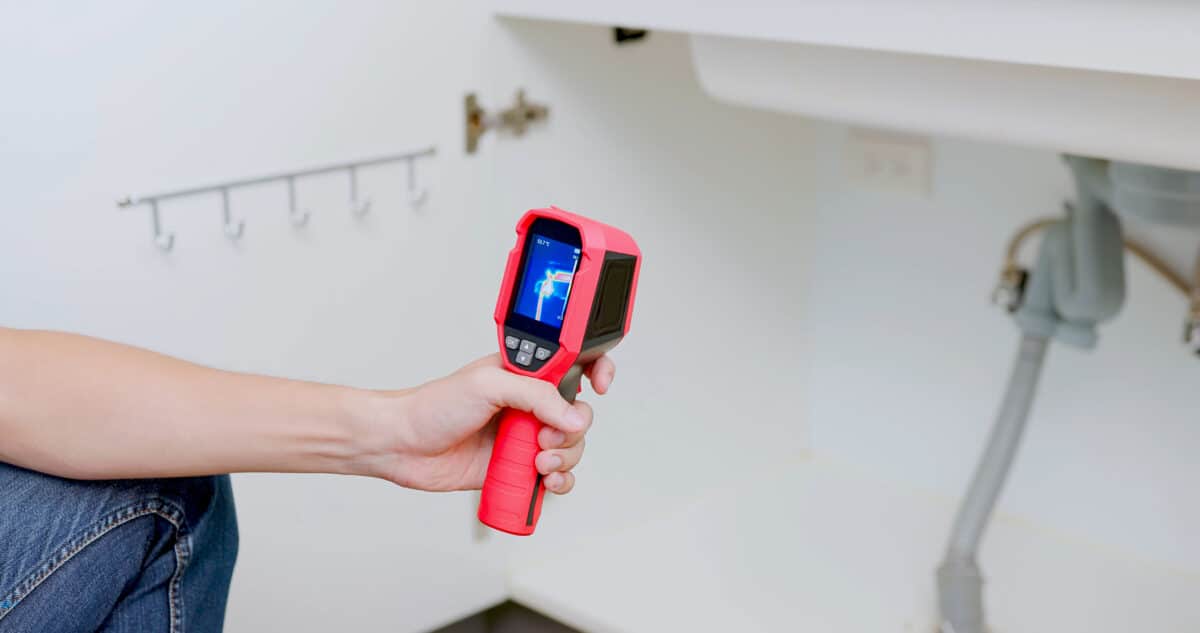
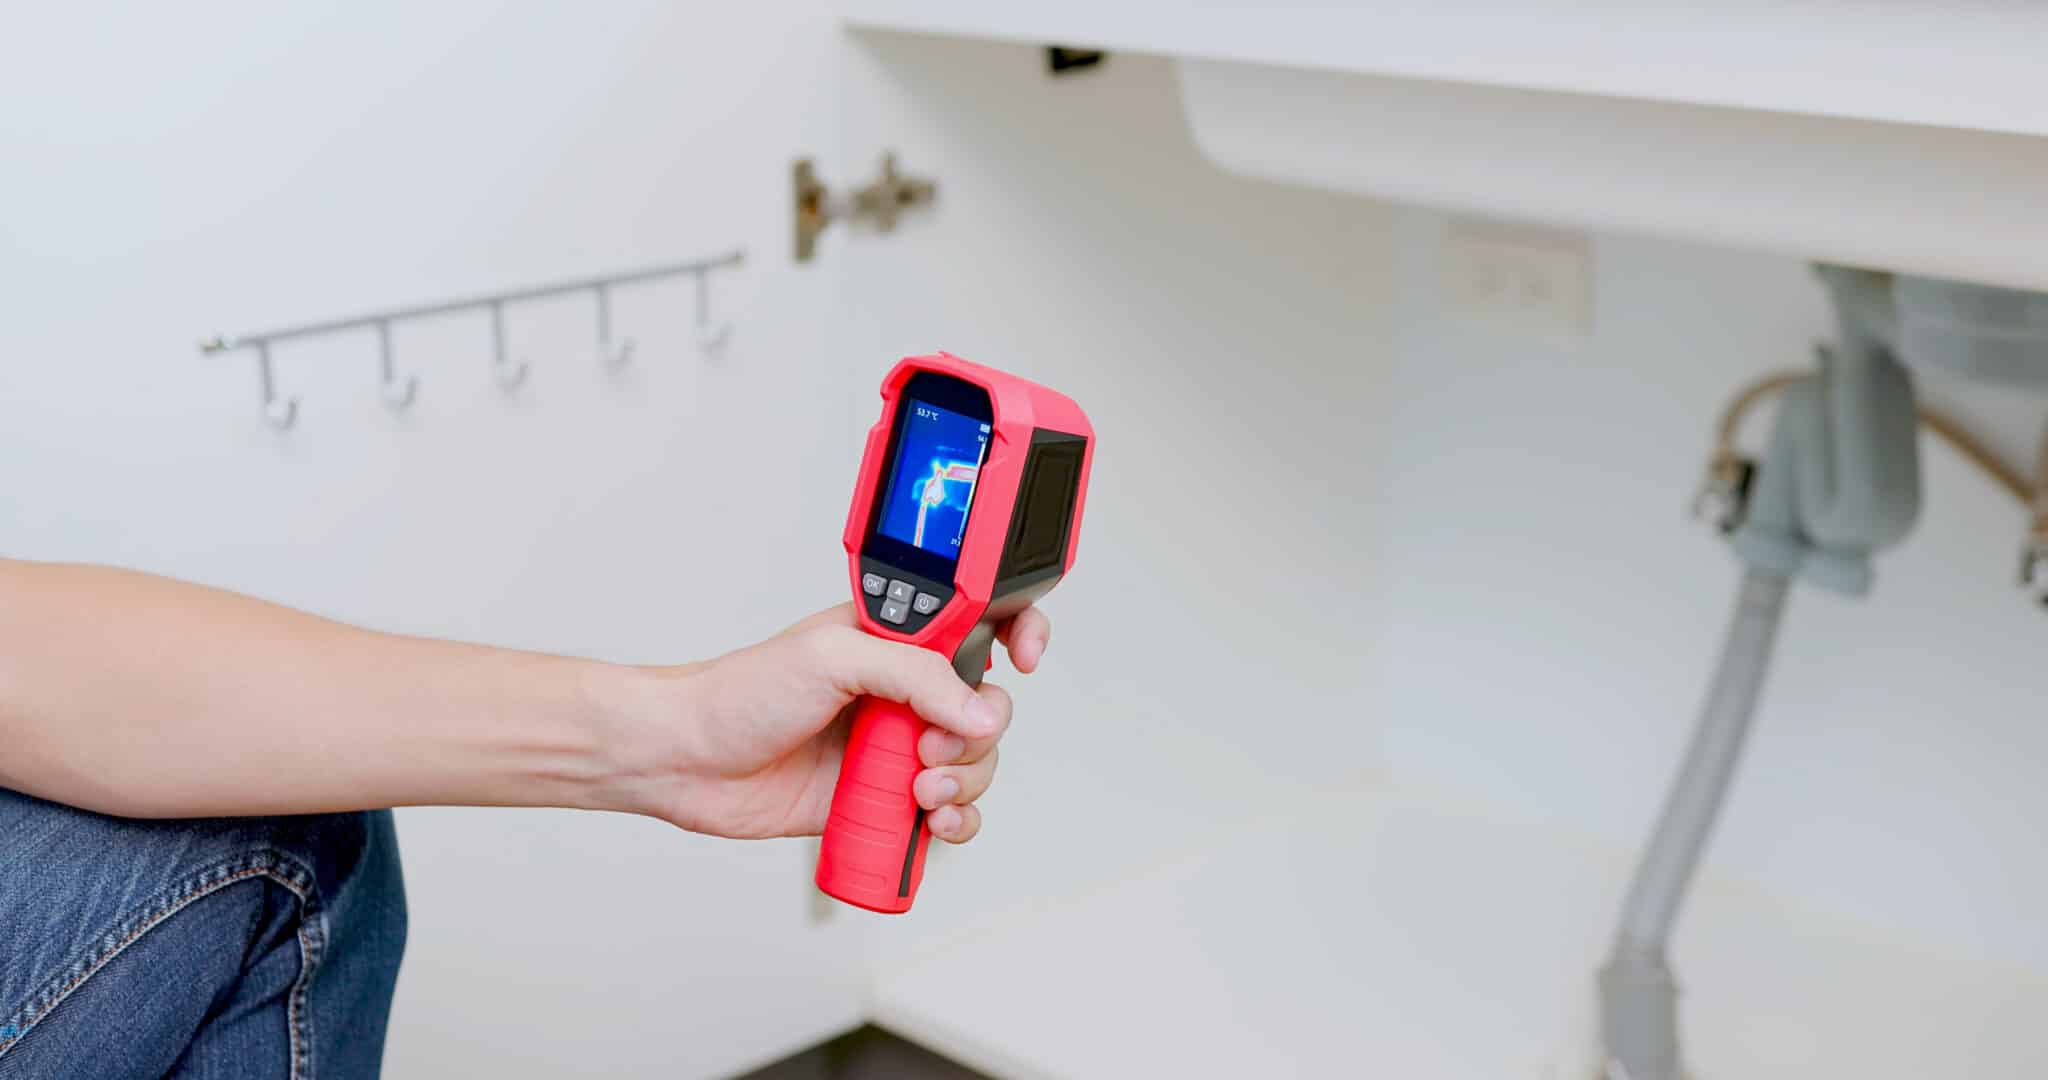
- You need help with advanced leak detection tools like infrared cameras.
A professional plumber can provide a thorough inspection and effective solutions to prevent further damage.


